How Heavy is Hypertufa? A Comprehensive Guide
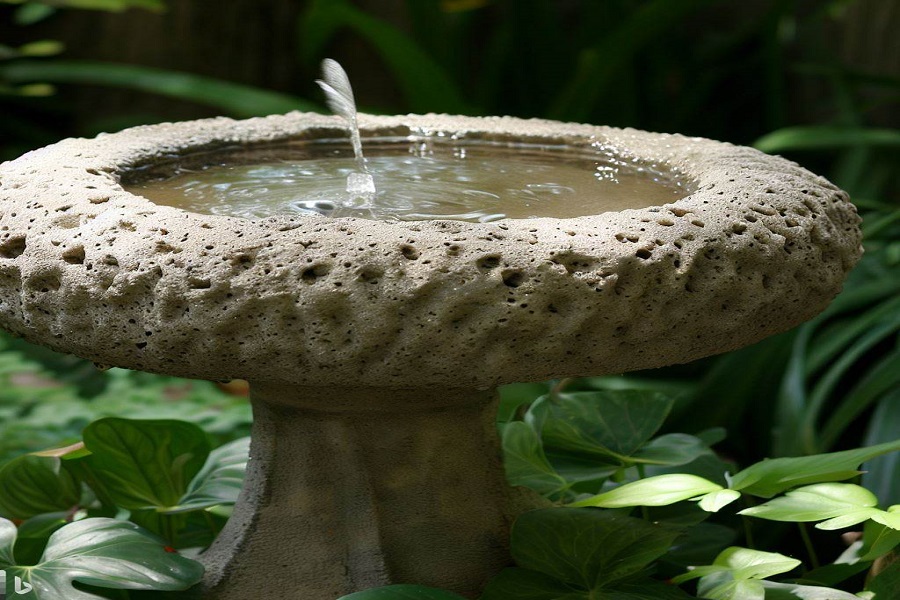
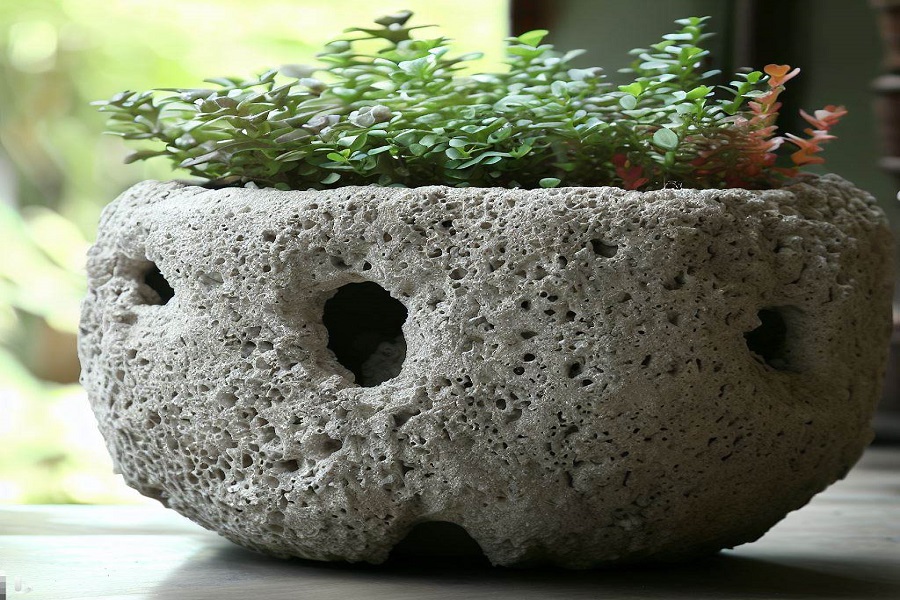
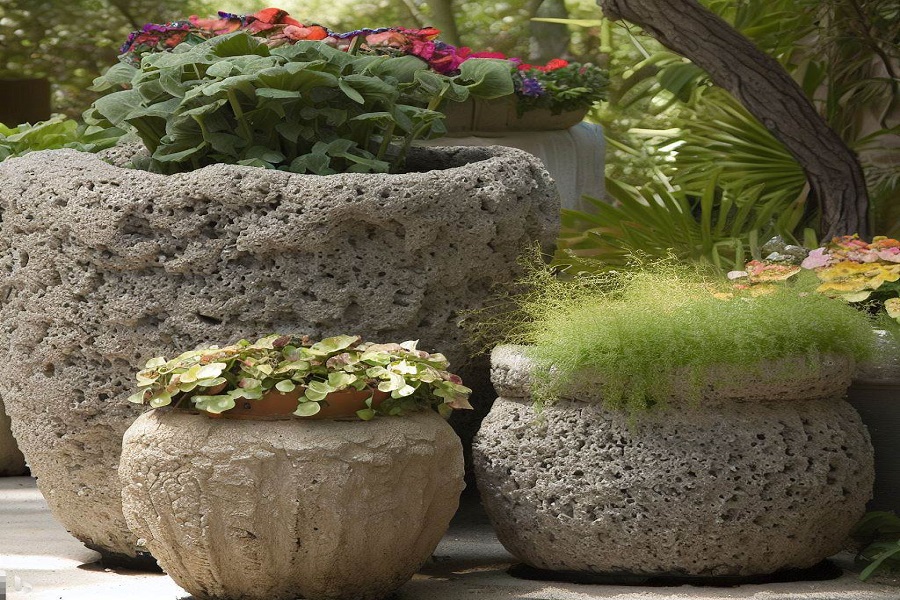
Hypertufa is a versatile material that has become increasingly popular in garden design and outdoor decor. Its ability to mimic natural stone, while being lighter and more affordable, makes it an attractive choice for many DIY projects. However, the weight of hypertufa can vary greatly depending on its size and composition. Knowing how heavy hypertufa […]
How Heavy is Hypertufa? A Comprehensive Guide Read More »